
This shop has been compensated by Collective Bias, Inc. and its advertiser. All opinions are mine alone. #OilChange #CollectiveBias
I come from a family of handy people, and that’s something I’m pretty proud of. My father can fix almost anything on a car, my brother can perform all kinds of basic car and house maintenance and my mother and sisters all have a DIY attitude that inspires them to tackle all kinds of different jobs. In many ways I’ve inherited the same handiness, especially when it comes to household repairs. But my car maintenance skills are seriously lacking and this year, I decided it was time to change that.
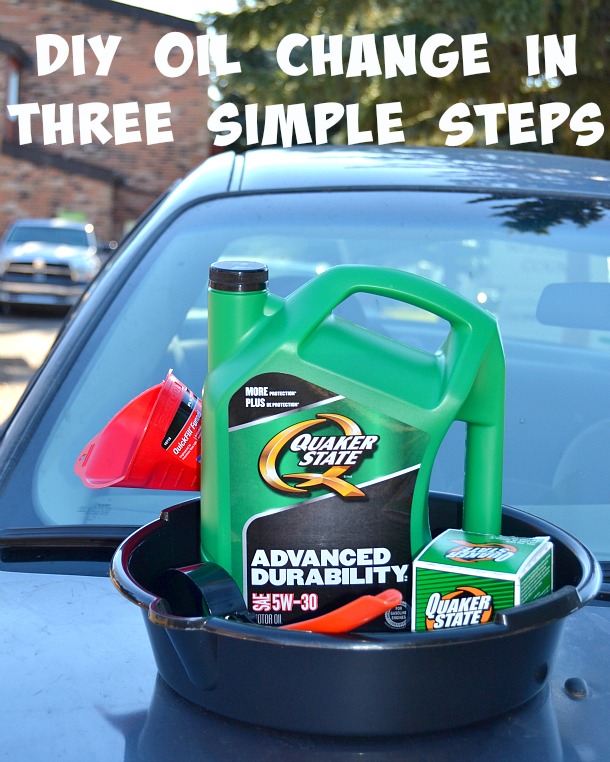
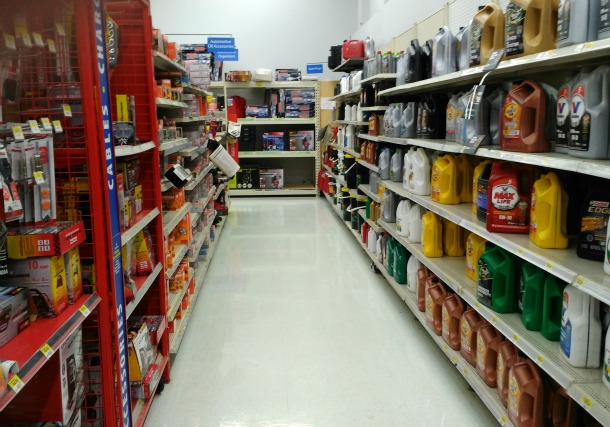
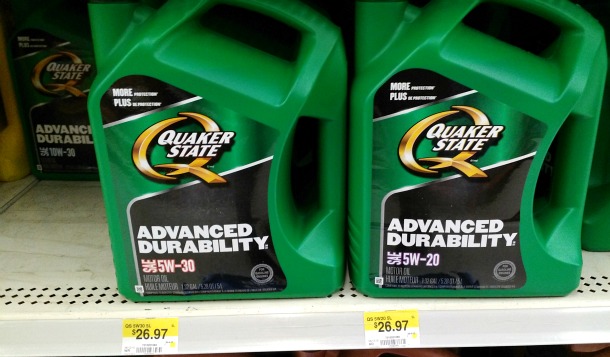
My boyfriend has a bit more experience with cars than me, but his car repair skills are also pretty minimal, so the two of us made plans to learn one of the most basic and necessary vehicle jobs there is…the oil change. I headed to Walmart to buy the necessary equipment: Quaker State motor oil, a new oil filter, an oil pan and a funnel. Finding the oil I wanted was quick and easy, and having investigated the recommended amount for my car online, I knew a 5L bottle was the perfect amount.
Next, it was time to run through each step of the oil change. As is so often the case today, the Internet was an invaluable resource. Jeremy and I found a video that walked through each step of the oil change, from draining the oil to replacing the filter to filling the car up with oil once more. Then we headed out to get my car winter-ready with our new-found know-how and Quaker State!
Step One – Drain the Oil
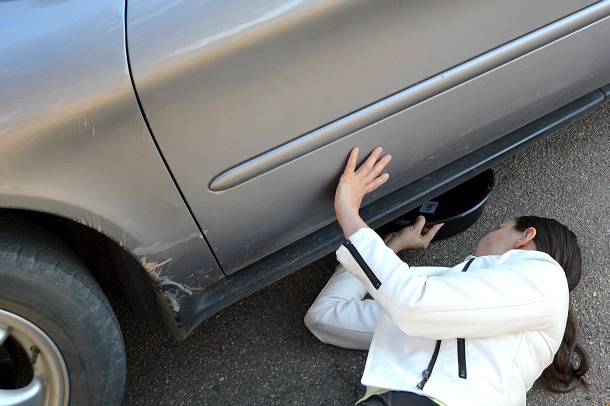
Draining the oil was by far the easiest part of the process. I simply used the proper sized socket wrench (16mm in my car’s case) to loosen the drain plug and then let the old oil run out into my pan. Collecting the old oil carefully is essential for protecting the environment, and I was happy I had purchased the pan to ensure that I could do that easily, especially since I can use it again and again in the future. After screwing the drain plug back in, it was time to put on the new oil filter.
Step Two – Replace the Oil Filter
The video we had watched mentioned needing an oil filter wrench, and initially I hadn’t understood what that was or why it was needed. Once I looked under the car, I understood better why it was an essential piece of equipment for my particular car. The screw-on style oil filter that my Ford Taurus uses often gets slick and can be difficult to remove without a tool to grasp it firmly and unscrew it initially. Jeremy made a quick run to Walmart to pick up the wrench and we loosened the old oil filter and removed it carefully. Then I greased up the end of the new filter, screwed it into place by hand and tightened it finally with the oil filter wrench.
Step Three – Fill the Car with New Oil
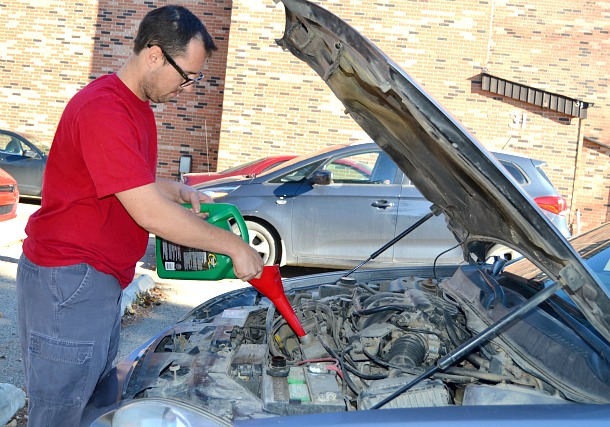
Our last step was filling the car with new oil. Jeremy added the 5L jug of Quaker State Advanced Durability motor oil to the car and checked the fluid level. It looked good, so I then started the car, let it run for a few minutes to circulate the fresh oil through the system and checked the oil level once more to ensure it was still adequate. I also asked Jeremy to do a quick check underneath the car to make sure that there were no leaks from the drain plug, just in case.
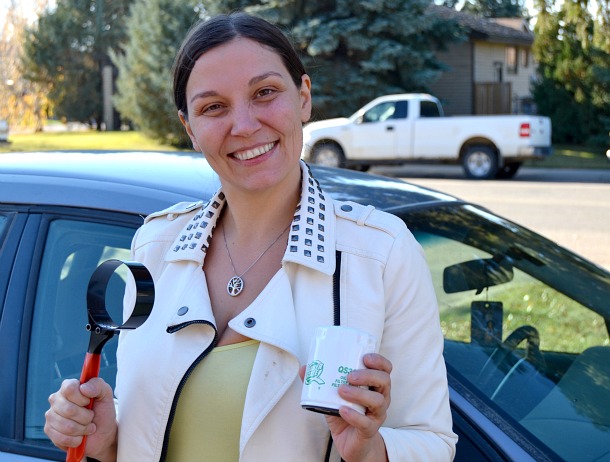
And just like that, our very first oil change was complete! I was thrilled with how easy it had been, and with my car full of Quaker State Advanced Durability, I knew the oil would help keep my car running smoothly for thousands of miles. In a province like Saskatchewan, with its harsh winters, making sure my car is in top shape for the cold months is especially important. Taking care of one of the crucial car maintenance tasks with Jeremy had been so satisfying…and less expensive too! If your car is due for an oil change before winter, consider doing it yourself rather than paying a garage to do it for you. With Quaker State oil and a few other supplies from your local Walmart store, you’ll be able to learn a valuable new skill in no time!
This actually doesn’t look all that hard. I think I’ll have to try it sometime.
Good explanation, it is a valuable skill to have.
This is always a good skill to have, I will have to give it a go.
This is something we should be doing very soon.
I think it’s one of those things that “everyone” should know how to do. But I don’t I’m afraid. Right now it’s a balance – do I want to do this or something else with my time lol
Sounds so easy I might even be able to handle it
The hubby and I usually put the team effort in when it comes to car maintenance. I grew up with a backyard mechanic for a parent, so I learned a few things over the years.
It’s certainly a handy skill to have, but the mising part of the blog is where did you dump the oil? Down the drain, in the back alley, or properly at an oil recycling depot/center?