
Now that my husband and I have made the jump from renters to homeowners, we are discovering just how much work is involved in owning a home.
Of course, due to our home’s age and lack of upkeep, we do have more work than most.
The house is sagging in the middle and needs to be lifted until it is level. The living room carpet is over 30 years old and has started shedding fibers that our baby seems to think are delicious snacks for his enjoyment.
The list of projects is so long that even prioritizing the renovations is a challenge.
Since I love to cook, making the kitchen a pleasant and functional living space was definitely high on my priority list.
For the most part, I was fairly pleased with my kitchen, but the counters and the cupboards were horrific, and as far as I was concerned, they couldn’t be updated soon enough.
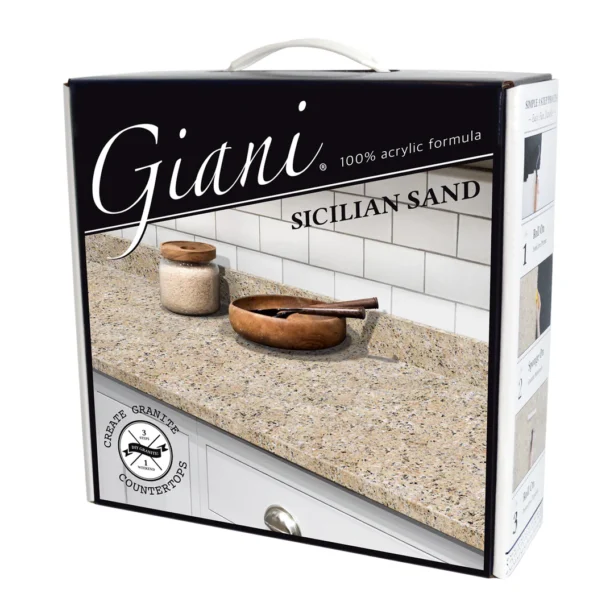
At the time, I didn’t know quite what could be done with the cupboards, but when I learned about Giani Granite Paint, an amazing and inexpensive product that promised to give my counters the look of granite, I knew at once that I had found the solution for our countertop.
I was thrilled when I was given a chance to review this amazing product for myself.
I received the Giani Granite Paint kit in Sicilian Sand to review.
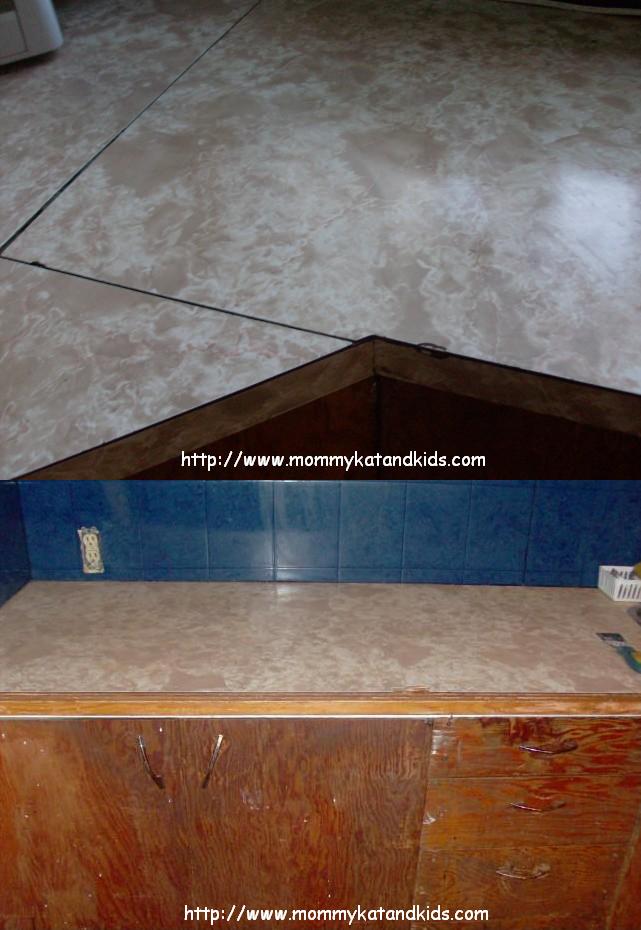
The countertop paint kit is designed to cover laminate, Formica, primed marble and primed wood countertops, but the awful laminate counter that I had been living with for so long was so horrifically damaged that repairing and covering it was not an option.
So, my husband and I began the job of removing the outdated and cracked laminate from the counters. After a day of work and a great deal of elbow grease, we had managed to tear off all of the old laminate.
Unfortunately, the ancient rubber cement that was left behind seemed, at first, to be impossible to remove.
I was in despair until we remembered my husband’s grinder had a sanding attachment that might be able to remove the glue.
The grinder worked like a charm, and my husband sanded the plywood countertop until it was as smooth as he could possibly make it.
I then applied a thin coat of wood primer, and we anxiously waited for the primer to dry so that we could test the countertop paint.
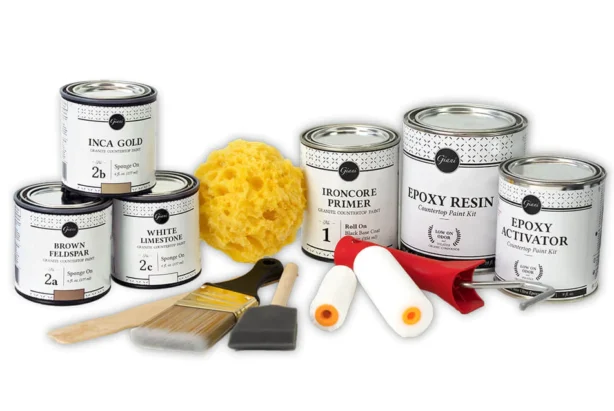
The kit contains an instructional DVD and five different products that are used to create the appearance of stone. My husband and I watched the DVD together before beginning the project.
The first step consisted of rolling on a coat of black Iron Core Primer, the base for every Giani countertop paint kit, with the included roller.
I was pleased by how well the primer covered the countertop and smoothed out imperfections.
Once the primer had been applied, we waited the recommended eight hours for the primer to dry.
After the primer had dried, my husband used the enclosed sponge to dab on the three colors that created the granite effect, working in three-foot sections as the instructions suggested.
The first two colors provided the base effect, while the third color was used more sparingly as an accent.
I was blown away by how beautiful the countertop looked as my husband dabbed on the various colors.
One of the wonderful things about the Giani countertop paint kits is the fact that one kit can create a plethora of different tones by adding more or less of a certain color during application.
My husband kept the balance of color fairly even throughout the process so that the black base and the three other colors balanced well with one another.
When we were happy with the countertop, we sat back once again to let it dry for four hours.
The sponging process can create some bumps on the counter’s smooth surface, so when the paint was dry, my husband sanded it by hand, using 600 grit sandpaper to ensure that the countertop was completely smooth.
After a quick but thorough dusting, we were ready for the final step in the painting process, the application of the automotive-grade topcoat.
I rolled on the topcoat with the roller, making sure that the roller always stayed fully coated to ensure a smooth and shiny surface.
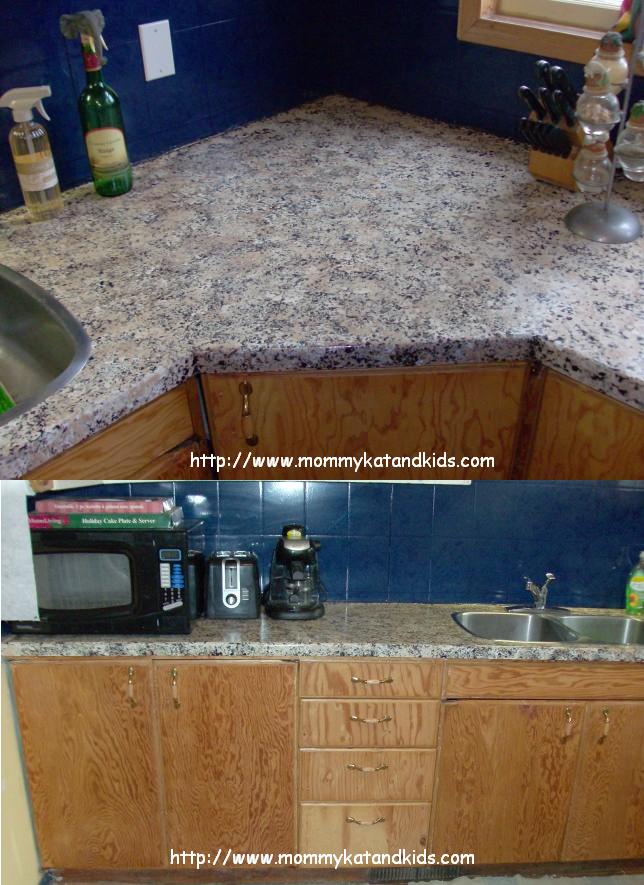
After another four hours, we applied the second layer of topcoat. At last, our countertop was finished, and it looked absolutely amazing.
Up close, it looked like a gorgeous patterned countertop, but from a distance of a few feet, the counter really did look just like granite!
Once we had finished our countertop paint project, we had a 24-hour wait before we could use the counters, and a three-day wait before we could put our microwave, toaster and coffee machine back in their places.
But the counter looked phenomenal, and was well worth the wait.
The topcoat is an automotive-grade water-based polymer that takes a full two weeks to fully cure, so during that timeframe we definitely babied our countertops.
Thankfully, I was so impressed by the finished result that I was more than willing to use a bit of extra care to ensure my counter’s longevity.
Giani Granite Paint comes in six different color options to make matching every décor incredibly easy.
The unique paints are designed to slightly repel one another, which helps to create the blending that is needed to effectively simulate genuine granite.
And thanks to the topcoat, which is also used to manufacture car bumpers, the durability of the finished countertop is sensational.
I was impressed by how well the sponging technique worked and how easy it was to create the look.
And, once the counter was ready to paint, the actual application process was so simple, and really involved more waiting than work.
I am so in love with my new countertops that it is hard to even find the words to express myself.
Of course, some of that joy is due to the fact that my horrible cracked and warped counters are finally a thing of a past, but there is no doubt that my gorgeous new countertops are a pretty powerful source of my delight as well.
Working in my kitchen is so much more enjoyable than it was, and I love how much more sophisticated the overall look of the room has become.
Stone is a wonderful material, but at about $100 per square foot, it is far too rich for my blood!
For a flat price of $137, the Giani countertop paint kit offers the opulent appearance of granite at a fraction of the price.
To add a touch of richness to your house, check out Giani Granite Paint today, and enjoy a luxurious granite look that anyone can afford.
Buy It: To purchase the Giani Granite Paint kit, check the website for a retailer near you.
I need 16 square feet covered. The kit said 12. Do I need to buy another or is one kit generous enough?
Thank you
This is a tough one. It’s a generous kit, so one kit is likely enough to get by. BUT, being able to have extra paint for touchups and adjustments is something that I definitely prefer when doing DIY projects. If you’re really on a strict budget, you’ll be able to make one kit work. If you have a bit of extra money to spare, splurge and get two.
Wondering how the product is holding up?
Hi Kel! I’ve actually moved now, so I’m afraid I can’t speak to how it looks today, but it was six years between application and selling the house, and it held up perfectly, no chips/stains/cracking/etc, for that whole time. Hope this helps!
Pingback: Stone Express, ILVA, Alcalagres. The Tile Company · Natucer · Alfagres · Ricchetti · Mosaic Mixers Cemento Alcalagres Silex (Grafito)